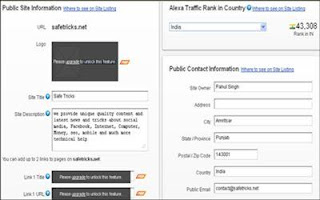
But after learning about Alexa working and its importance then another important step to do is adding your site in Alexa. Verify your site with Alexa helps to observe your site with more details. In this article try to describe all steps about adding your website or blog in Alexa.
Steps To verify Your Site With Alexa.
- Firstly Go to Alexa.com
- Then Create your new Account. If you already have account then log in into your account and updates your account details.
- After Sign up or Log in Go to Dashboard Tab Then click on Add a Site Button.
- Now Sign up for free plans from all display plans.
- Then enter the url of your website/Blog.
Now The time is to verify your blog or website authority by two option methods. By uploading any file to your website or By placing unique id code in your blog/website.
To verify your site with code verification in Blogger follow
- Copy verification id code >> Then Go blogger dashboard >> Templates >> Edit HTML >> Then Find and paste verification id below of section and save you changes.
- Now go back to Alexa and click on verify my ID.
- Now your blog or website is verified. Now provide some details about website/blog in Public site information page.

Now all the steps of claim is completed. If your website is new then it show no data then wait for few days to update your rank. I hope your site gets improvement in ranking within few days. If you face any problem in all the about mention steps then must share your comment. I feel glad to help you.


0 Comments